Coffin baddie nails are all the rage right now and for good reason! They are sleek, stylish, and perfect for any occasion. But what makes them so special? In this article, we will take a closer look at coffin nails and explain why they are so popular right now. We will also provide instructions on how to create a perfect coffin nail shape, whether you are a pro or just starting out. So, what are you waiting for? Check out this guide today!
Baddie long coffin nails: what makes this shape so special?
Coffin baddie nails are all the rage because they are sleek and stylish. But what makes them so special? We will take a closer look at coffin nails and explain why they are so popular right now. We will also provide instructions on how to create a perfect coffin nail shape, whether you are a pro or just starting out. So, what are you waiting for? Check out this guide today!
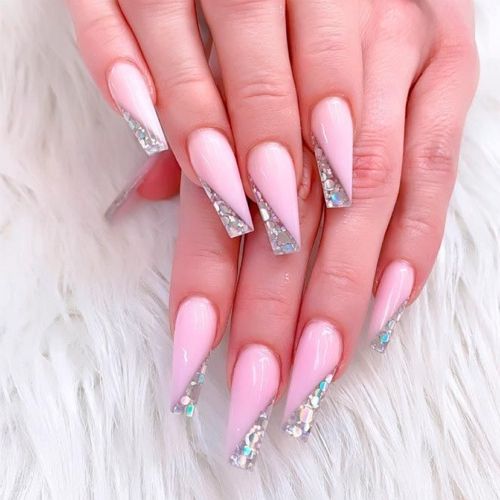
 | Kamize Light pink and white long coffin nails with marble design, rhinestones and glitter, 24 pcs [Long] Colors: white, light pink, gold 500+ Ratings | |
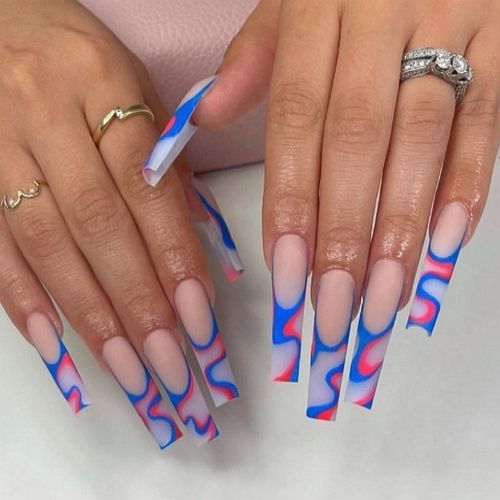
 | Foccna Light beige matte press-on coffin nails with graphic minimalistic elements and lines [Short length] Colors: bright blue, silver 400+ Ratings | |
 | Aksod Long beige and black coffin nails with bows, flowers, rhinestones, 24 pcs [Long] Colors: black, beige 580+ Ratings | |
 | YoYoee Long press-on acrylic coffin nails with black French tips and Asian dragon [Long] Colors: black, beige 1.200+ Ratings | |
 | Kikmoya Set of press-on long black nails with matte and glossy finish and rhinestones [Short length] Colors: black |
Specifications of the coffin nail shape
Coffin nails get their name from their shape which resembles a coffin. They are long and tapered at the end with straight sides. Coffin nails can be any length but they are usually longer than average. This nail shape is perfect for those who want to make a statement with their nails.
Creating the perfect coffin nail shape is not as difficult as it may seem. If you are a pro, simply file your nails into the desired shape and use a base coat and top coat to protect your nails.
If you are just starting out, we recommend using false nails or nail tips to create the perfect coffin shape. Simply glue them on and then file them into the desired shape. Once you have the desired shape, apply a base coat and top coat to protect your nails.
Baddie Louis Vuitton Nails Coffin
Baddie Louis Vuitton’s nail coffins are all the rage these days. If you are looking for a sleek and stylish nail shape, then this is the perfect option for you. There are so many great designs with LV elements that will create that elegant and trendy look.
One of the things that make LV coffin baddie nails so special is their elongated shape and combination of colors and design materials. This allows for more creative designs and means that there is less chance of your nail polish chipping or cracking. Additionally, the tapered end of the coffin nail provides a more polished look than other nail shapes.
Red Baddie Coffin Nails
 | iBeautying
Red press-on acrylic coffin nails with glossy finish [Medium length] Colors: red, glossy finish 100+ Ratings | |
Allkem
Long acrylic baddie coffin nails with transparent elements [Extra long] Colors: red, transparent 1.900+ Ratings | ||
 | YOSOMK Long acrylic baddie coffin nails in classic red with extra glossy finish [Long] Colors: red, glossy finish | |
 | Obmyec
Press-on acrylic coffin nails with red french tips [Long] Colors: red, dark red 10+ Ratings | |
 | Vivilly
Press-on red matte baddie coffin nails [Long] Colors: red, matte finish 20+ Ratings |
Baddie coffin nail designs
Coffin nails are the perfect canvas for any design. Whether you want something simple or something more elaborate, there is a coffin nail design for you. Here are some of our favorite designs:
- Bold and colorful stripes;
- Glittery and sparkly nails;
- Nude nails with gold accent details;
- Ombre coffin nails;
- Matte coffin nails.
No matter what your style is, there is a coffin baddie nail design for you!
Simple designs for baddie coffin nails
Not everyone wants to go all out with their coffin nails. If you prefer a more simple and understated design, then we recommend trying one of these designs:
- A single color with a matte finish;
- A nude base with thin black accent details;
- Glittery accent nails;
- Ombre nails with a glittery accent nail.
These are just some of the many baddie coffin nail designs that you can try.
DIY coffin nails
If you want to try coffin nails but don’t want to go to a salon, then we have some good news for you! You can actually achieve the perfect coffin nail shape at home with a little bit of practice. Here is a quick and easy DIY guide:
- Start by trimming your nails to the desired length.
- File your nails into a square shape.
- Next, use a nail file to create a V-shape at the tip of your nails.
- Finally, use a buffer to smooth out the edges and create a shine.
Now that you know how to create the perfect coffin nail shape, it’s time to start experimenting with designs! Try out different colors, finishes, and accent details.
If you are looking for DIY long coffin nails, you can just purchase false nails or nail tips and follow the same instructions. Simply glue them on and then file them into the desired shape. Once you have the desired shape, apply a base coat and top coat to protect your nails.
Coffin nails are a great way to add some style to your look. With so many different designs to choose from, there is sure to be a coffin nail design that you love!
How to attach coffin nails at home
If you are looking for a DIY coffin nail guide, we’ll help you out as well. Check out this guide to get instructions, see professional tips and secrets, and more.
First, start with clean nails. If your nails have polish on them, remove it with acetone or another polish remover. Next, use a nail file to shape your nails into the desired coffin shape. Once you have the basic shape down, it’s time to add length.
If you’re attaching fake nails, start by selecting the right size for each finger. Cut each nail down to size if necessary then glue them on following the package directions.
How to apply glue and attach fake nails without damaging your real nails?
Use a small amount of glue and apply it to the back of the fake nail. Starting at the cuticle, press the fake nail onto your real nail and hold for a few seconds until the glue sets. If you’re having trouble getting the nails to stay on, try using clear tape to secure them in place until the glue dries.
Once your nails are glued on, use a nail file to refine the shape and make any adjustments. Once you’re happy with the shape, it’s time to add some color! Here are some ideas and instructions on red acrylic coffin nails, royal blue coffin nails with diamonds, and more!
Now that your nails are attached, it’s time to add some color! You can paint your coffin nails with any color or design you want. Use a base coat first then add your desired polish color. Finish with a top coat for extra shine and protection.
So there you have it! Now you know how to attach coffin nails at home like a pro!
What do you think of coffin baddie nails? Let us know in the comments below! And don’t forget to share this guide if you found it helpful.
Meet our Expert
 Elaine Andrews is a professional nail technician with 12+ years of experience. She works both with gel and acrylic nails and creates artistic nail designs for her customers. She has been training nail technicians for over 6 years and is an author of her own patented nail courses. Feel free to use the comment field below to ask Elaine something you wanted to know about nails and manicures!