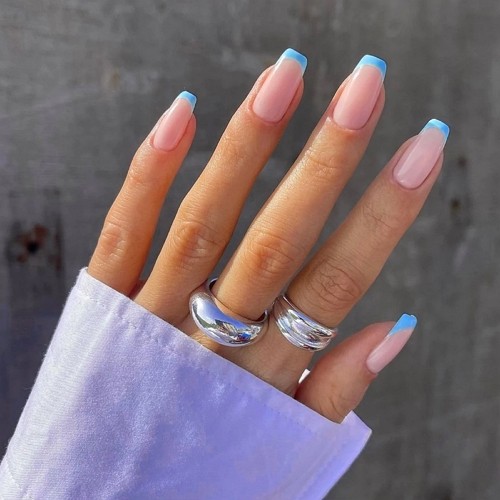
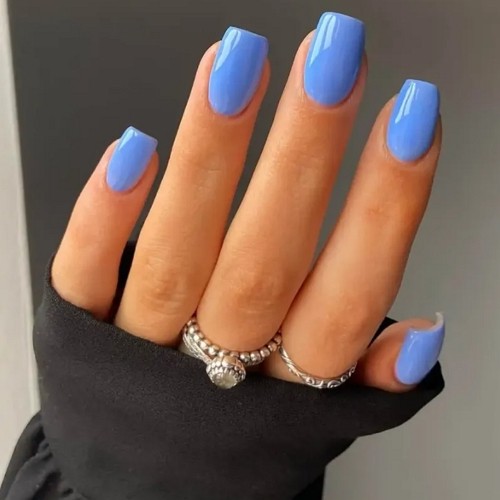
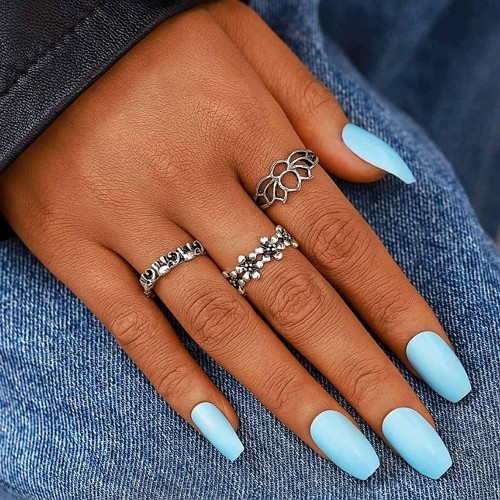
Short coffin nails are all the rage right now, and for good reason! They are stylish and easy to maintain. In this blog post, we will show you how to create the trendiest nail design using blue short coffin nails. We will provide detailed instructions as well as pictures of the finished product so that you can replicate it at home!
Most popular materials for coffin nails
The most popular materials to create short coffin nails are UV gel, acrylic powder, and ready-to-use ABS plastic press-on nails. All of these options have their own set of pros and cons, so it is important to choose the one that is right for you.
 | Belicey Short light blue coffin nails with matte finish, 24 pcs [Medium length] Colors: sky blue 100+ Ratings | |
 | Sapphire Press-on matte blue nails with silver foil elements [Short length] Colors: bright blue, silver 2.500+ Ratings | |
 | MISUD Short coffin nails with glitter, glossy finish and ombre design, 24 pcs [Medium length] Colors: blue, blue glitter 2.300+ Ratings | |
 | E&A Medium length dark blue press-on acrylic coffin nails [Short] Colors: blue 450+ Ratings | |
 | POLARHAWK Dark blue set of press-on short nails with matte and glossy finish [Short length] Colors: blue |
- UV gel nails are durable and provide a natural look. They require a bit of time to apply, but the results are worth it!
- Acrylic powder coffin nails are also durable and provide a natural look. You need to have acrylic powder and polymer and know, how to work with these materials, but they do require a bit of time to set.
- Ready-to-use ABS plastic press-on nails are the easiest to apply, but they are not as durable as the other options.
If you want to achieve the blue short coffin nails look, we recommend using UV gel or acrylic powder. These materials will allow you to create the sharp, clean lines that are necessary for this design. Now that you know what material you will be using, let’s move on to the next step: creating the perfect blue shade!
How to create perfect blue shades on your nails
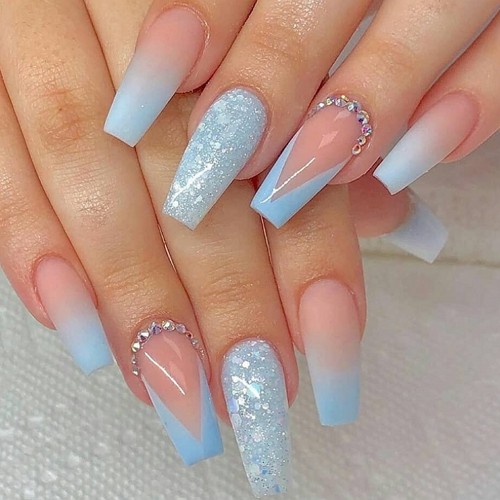
The most popular colors for coffin nails are nude, black, and, of course, blue! For this design, we recommend using a light blue shade. This color will provide contrast against your skin tone and make your nails pop! If you want to add a bit of sparkle to your nails, you can also use glitter nail polish. We recommend using a blue glitter polish that is similar in shade to the light blue polish you will be using. Now that you have chosen your materials and colors, it is time to start creating your design!
Instructions
- Paint your nails with a base coat of clear nail polish. This will protect your nails from staining and help the color adhere better.
- Next, apply two coats of light blue nail polish to your nails. Allow the first coat to dry completely before applying the second.
- Once your nails are completely dry, it is time to add glitter! Apply a thin layer of blue glitter nail polish over the light blue polish. We recommend using a sponge applicator to avoid getting glitter everywhere!
- Allow your nails to dry completely before applying a top coat of clear nail polish. This will help the colors last longer and prevent chipping.
And that’s it! You have now created the perfect blue short coffin nails design. We hope you enjoyed this tutorial and that you’ll be able to replicate the process.
Additional design elements
If you want to take your design to the next level, there are a few additional elements you can add.
- You can use tape or stickers to create sharp, clean lines. This will give your nails a more polished look.
- You can also add rhinestones or other embellishments to your nails. This is a great way to add some sparkle and personality to your design!
- If you want, you can also paint the tips of your nails with a different color. This is a great way to add some contrast and make your nails truly unique.
In conclusion, blue short coffin nails are a trendy and chic nail design that anyone can achieve at home with the right materials and colors. We hope you enjoyed this tutorial and that you’ll be able to replicate the process with ease!
Meet our Expert
 Elaine Andrews is a professional nail technician with 12+ years of experience. She works both with gel and acrylic nails and creates artistic nail designs for her customers. She has been training nail technicians for over 6 years and is an author of her own patented nail courses. Feel free to use the comment field below to ask Elaine something you wanted to know about nails and manicures!