If you’re looking for a way to take your nail game up a notch, look no further than ombre black nails! This trendy style is perfect for any occasion and surprisingly easy to create at home. This guide will walk you through the steps needed to create perfect ombre black nails. We’ll also share some of our favorite design ideas to help get you inspired!
Trending nail shapes for black ombre nails
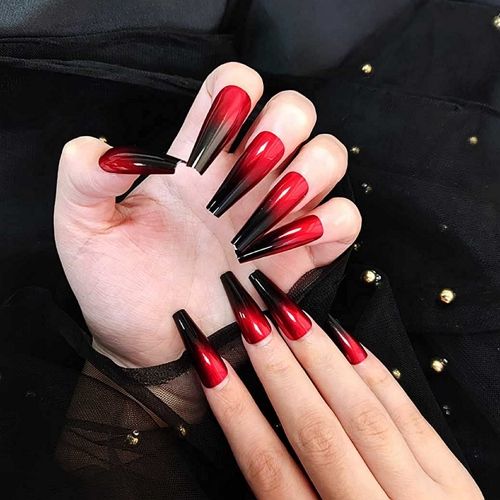
A trend popping up lately is using different colors in the ombre design. For example, you could use a light pink as the base color and then gradually add black tips. This creates a beautiful gradient effect that is perfect for any season!
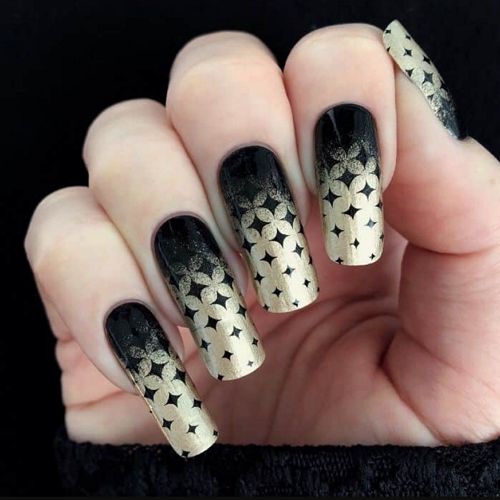
Another popular option is to create an ombré design with glitter. This is a great way to add sparkle and pizzazz to your nails! To get this look, apply a layer of glitter over your desired base color. Then, use a makeup sponge to dab on black polish over the top lightly. Voila! You’ve just created gorgeous glitter ombré nails. The same concerns all colors you can work with: lavender ombre, brown ombre, bright summer ombre, etc.
If you’re feeling extra creative, you can try out different nail designs. For example, you could do a solid base color on some nails and an ombré design on others. Or, you could mix and match different colors to create a truly unique look. The sky is the limit when it comes to black ombre nails!
How to create an ombre design
Now that we’ve shared some inspiring design ideas let’s get into the nitty-gritty of how to create perfect ombre black nails. The first step is to gather your supplies. You will need:
- Base coat
- Top coat
- Nail polish remover
- Cotton balls or pads
- Nail file
- Orangewood stick (or another thin nail tool)
- Black nail polish
Once you have all of your supplies, you’re ready to get started! The first step is to apply a base coat to your nails. This will help protect your nails from harsh nail polish chemicals and provide a smooth surface for the color to adhere to.
Next, use your nail file to shape your nails into the desired shape. Once you have shaped your nails, it’s time to apply the polish! Begin by painting your nails with a thin layer of black polish. Allow this first layer to dry completely before moving on to the next step.
Once the first layer of polish is dry, it’s time to start creating the ombre effect. To do this, dip your orangewood stick into the black polish and lightly drag it along the tips of your nails. You can also use a makeup sponge to dab on the color.
Continue adding more layers of color until you are happy with the results. Once satisfied with your ombre design, finish off with a top coat to help protect your nails and make them last longer.
Stick-on nails with black ombre designs
If you don’t have the time or patience to create your ombre nails, don’t worry! You can still get the look with stick-on nails. Stick-on nails are a great option if you’re in a hurry or not confident in your painting skills. They are also super easy to apply and come in various designs, so you’re sure to find something that suits your style.
To apply stick-on nails, simply peel off the backing and press them into place on your natural nail. Make sure they are firmly attached before moving on to the next nail. Once all of your nails are in place, use a file to trim them down to size and shape them into your desired shape.
To finish your look, apply a layer of clear polish or top coat. This will help blend the edges of the stick-on nails and give them a more natural appearance. And that’s it! You’ve just created beautiful black ombre nails in no time at all!
Design elements for black ombre nails
Now that you know how to create perfect ombre black nails, it’s time to get creative! There are endless possibilities when it comes to designing your unique look. Here are a few ideas to get you started:
- Add a pop of color: One way to add some interest to your nails is to include a pop of color. This can be done by painting one accent nail with a bright color or adding colorful rhinestones or decals to your design.
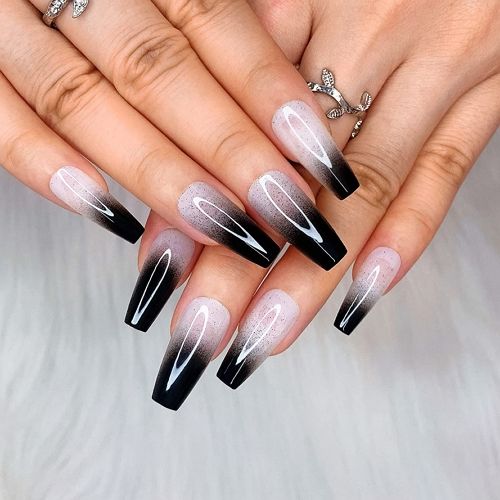
- Create an ombré French manicure: French manicures are classic and chic, but you can put your spin on them by creating an ombré design. Simply paint your nails with a light pink polish and then create a gradient effect with black polish at the tips.
- Go for something different: If you’re feeling adventurous, why not try something completely different? You could paint your nails with a matte black polish or add some texture to your design with glitter or chrome powder. The possibilities are endless!
Whatever design you choose, we hope that these tips and ideas have inspired you to create your own perfect ombre black nails. Happy painting!
Meet our Expert
 Elaine Andrews is a professional nail technician with 12+ years of experience. She works both with gel and acrylic nails and creates artistic nail designs for her customers. She has been training nail technicians for over 6 years and is an author of her own patented nail courses. Feel free to use the comment field below to ask Elaine something you wanted to know about nails and manicures!