Looking to create the perfect brown ombre nails? You’re in luck! In this guide, we will provide professional tips and instructions on how to achieve this look. Whether you’re a beginner or an experienced nail artist, we have you covered. Keep reading for everything you need to know about creating beautiful brown ombre nails!
What nail shapes look great with an ombre design?
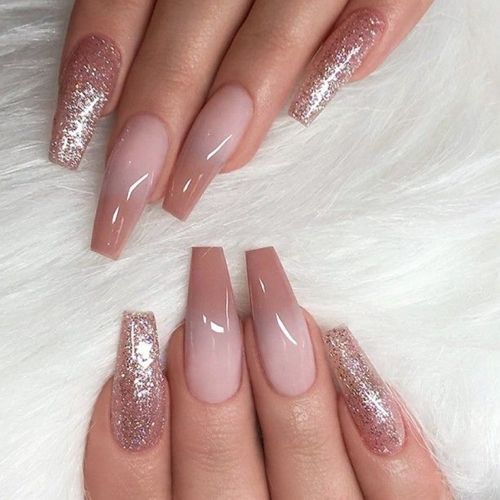
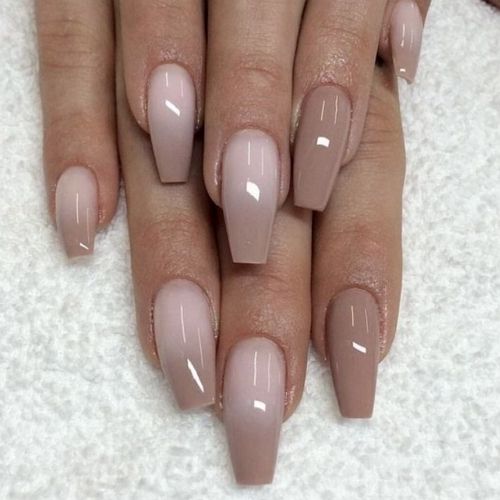
There are a few different nail shapes that work well with ombre nail designs, but the most popular is definitely the almond shape. This shape provides a canvas for you to really play around with the gradient effect of an ombre design. If you’re not sure how to achieve this look, don’t worry! We will provide step-by-step instructions later on in this guide.
 | Babalal Extra long square ptress-on nails with ombre design and gold lines [Long] Colors: brown, nude pink, gold 400+ Ratings | |
 | Aksod Medium acrylic press-on nails with light brown ombre design and satin finish [Medium length] Colors: nude beige, light brown | |
 | YoYee Milky white and light brown ombre press-on acrylic nails [Medium Length] Colors: brown, milky white 300+ Ratings | |
 | Uranian Short brown ombre nails with gold french tips [Short] Colors: light brown, nude pink, gold 400+ Ratings | |
 | Imsohot Long acrylic nails with glossy finish and brown ombre design [Long] Colors: brown, nude pink 30+ Ratings |
Another great option for an ombre design is a stiletto shape. This pointy and dramatic shape is perfect for those who want to make a statement with their nails. Keep in mind that this shape requires a little bit more upkeep, as it is more prone to breaking than other shapes. However, we think that it’s worth the extra effort!
Finally, we also love the classic round shape for ombre nails. This shape is timeless and elegant, and it provides a subtle canvas for your ombre design. If you’re looking for a more understated look, this is definitely the shape for you.
Now that you know what shapes work well with an ombre design, let’s move on to the next step: choosing your colors!
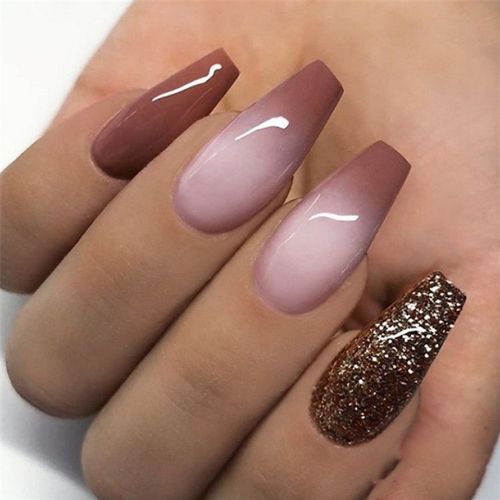
When it comes to ombre nails, brown is definitely one of our favorite colors to use. This earthy hue is perfect for fall and winter, and it looks great on all skin tones. If you’re not sure what shade of brown to use, we recommend starting with a light brown and working your way up to a darker hue. This will create a beautiful gradient effect that is perfect for an ombre design. The other popular colors are lavender ombre, black ombre, and colorful summer ombre nails.
Materials needed for brown ombre nails
Now that you’ve chosen your colors, it’s time to gather your materials. For this design, you will need the following items:
- Nail polish in various shades of brown
- A top coat
- A base coat
- Tape or stickers (optional)
- A cotton swab or Q-tip (optional)
Once you have all of your materials, you’re ready to start the tutorial!
Creating the perfect ombre nails is easier than you might think. In this section, we will provide step-by-step instructions on how to achieve this look. Whether you’re a beginner or an experienced nail artist, we have you covered. Keep reading for everything you need to know.
How to create brown ombre design: step-by-step instruction
Now that you have your colors picked out, it’s time to start the actual design! We will provide step-by-step instructions on how to achieve the perfect brown ombre nails. Keep reading for all the details!
- Step one: Begin by applying a base coat to your nails. This will help protect your nails from staining and will also provide a smooth surface for your ombre design.
- Step two: Next, apply a light brown polish to your nails. We recommend using a brush with fine bristles for this step, as it will give you more control over the color.
- Step three: Once the light brown polish has dried, apply a darker shade of brown to the tips of your nails. Again, we recommend using a fine-bristled brush for this step.
- Step four: Finally, use a clean brush to blend the two colors together. Start at the tips of your nails and work your way up towards the base. Remember to go slowly and be careful not to over blend the colors!
There you have it! These are our professional tips on how to create perfect brown ombre nails.
What other decorative elements can be used with brown ombre nail design
Once you’ve mastered the ombre look, there are endless possibilities for how to decorate your nails. In this section, we will share some of our favorite ideas for brown ombre nails.
One great way to add a little extra flair to your nails is to use tape or stickers to create different patterns. This is a great way to add some interest to an otherwise simple design.
Another option is to use a cotton swab or Q-tip dipped in polish remover to create different effects. For example, you can use this technique to create a leopard print design on your nails. Simply dip the cotton swab in polish remover and then dot it onto your nails in the desired pattern.
There you have it! These are just a few ideas for how to decorate your brown ombre nails. We hope you enjoyed this tutorial and that you now feel confident creating this look on your own.
Meet our Expert
 Elaine Andrews is a professional nail technician with 12+ years of experience. She works both with gel and acrylic nails and creates artistic nail designs for her customers. She has been training nail technicians for over 6 years and is an author of her own patented nail courses. Feel free to use the comment field below to ask Elaine something you wanted to know about nails and manicures!