Bling nails are the latest trend in nail design, and many women want to create this look for themselves. While it may initially seem intimidating, creating perfect bling bling nails is relatively easy! In this article, we will share step-by-step instructions on how to make this look. We’ll also provide tips on working with glitter and diamonds and show you how to attach sparkling elements to your nails. So get ready to learn everything you need to create beautiful bling bling nails!
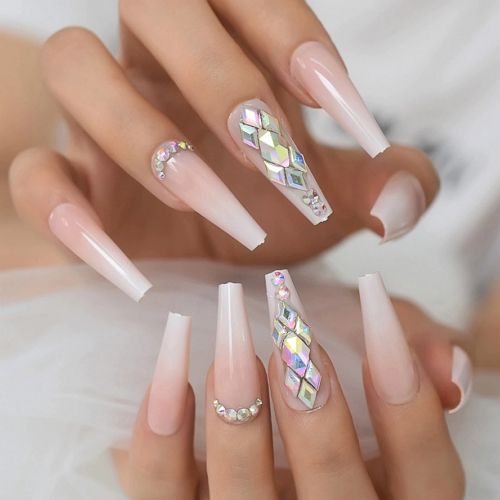
Featured materials: gel and acrylic powder, glitter, diamonds
Bling nails have been all the rage this year, and there’s no doubt they are here to stay. If you want to create this look for yourself, you’ve come to the right place. In this article, we will share step-by-step instructions on how to make perfect bling bling nails.
You will need the following materials: gel or acrylic powder, glitter, and diamonds. We recommend using gel or acrylic powder as your base, providing a more sturdy foundation for your bling nails. Once you have your materials gathered, follow these simple steps:
- Step One: Apply a thin layer of gel or acrylic powder to your nails.
- Step Two: Next, apply a layer of glitter. We recommend using a thin brush to apply the glitter, as this will help avoid clumping.
- Step Three: Once you have applied the glitter, it’s time to add the diamonds! You can either use individual diamonds or rhinestones. If you are using unique diamonds, we recommend using tweezers to place them on your nails. For rhinestones, we recommend using a dotting tool to apply them.
- Step Four: Finally, seal your nails with a gel or acrylic powder top coat. And that’s it! You’ve now created perfect bling bling nails!
If you’re looking for something extra, try adding some rhinestones or diamonds to your design. You can use a dotting tool or tweezers to place them on your nails. When you’re finished, seal your design with a top coat of gel or acrylic powder.
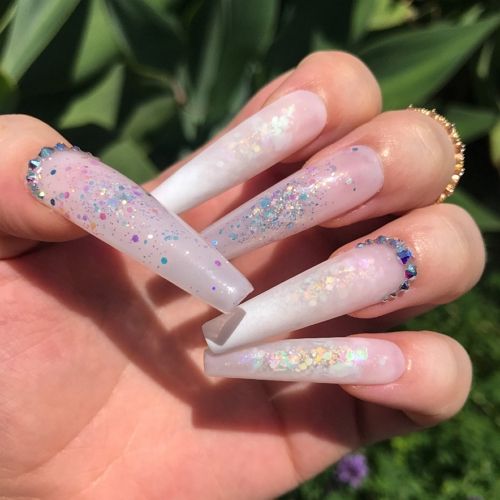
Diamonds, foil, and glitter for bling bling effect
If you want to take your bling nails to the next level, try using diamonds, foil, or glitter. Diamonds and foil can be applied with a dotting tool or tweezers, and glitter can be applied with a thin brush. When you’re finished, seal your design with a top coat of gel or acrylic powder.
Now that you know how to create perfect bling bling nails, why not try it out yourself? Use gel or acrylic powder as your base, apply glitter with a thin brush, and use a dotting tool or tweezers to apply diamonds and rhinestones. And don’t forget to top it off with a coat of gel or acrylic powder! As an alternative to simple yet trendy nail designs, you may try nails with butterflies, cherry nails, or daisy nail designs.
How to attach diamonds to artificial nails to make sure the design lasts
If you’re using artificial nails, there are a few things you need to keep in mind when attaching diamonds. First, ensure the nails are clean and dry before applying any adhesive. Second, use clear nail glue or a rhinestone selector to apply the diamonds. And third, wait for the glue to dry completely before wearing your bling nails out and about!
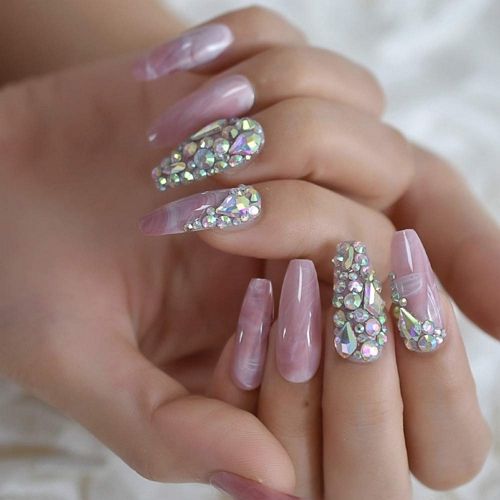
Featured colors and design ideas
There are endless possibilities when it comes to bling nails. You can keep it simple with just a few diamonds or go all out with an intricate design. You can also mix and match different colors of glitter and rhinestones to create a unique look. And don’t forget to top it off with a coat of gel or acrylic powder!
Here are some of our favorite bling nail designs:
- A single accent nail with glitter and diamonds
- An ombre effect using different colors of glitter
- A negative space design with rhinestones placed around the cuticle
- An allover glitter design
Remember to have fun and get creative, no matter what design you choose!
Meet our Expert
 Elaine Andrews is a professional nail technician with 12+ years of experience. She works both with gel and acrylic nails and creates artistic nail designs for her customers. She has been training nail technicians for over 6 years and is an author of her own patented nail courses. Feel free to use the comment field below to ask Elaine something you wanted to know about nails and manicures!