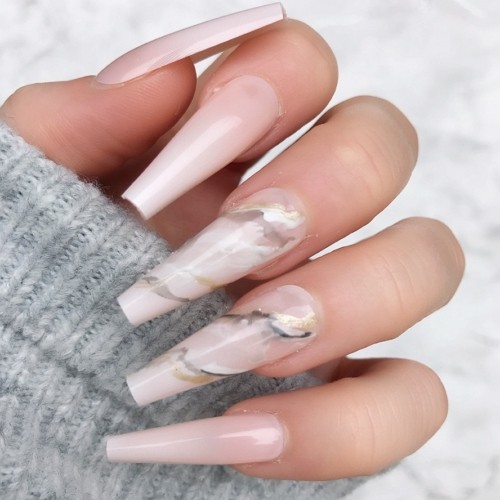
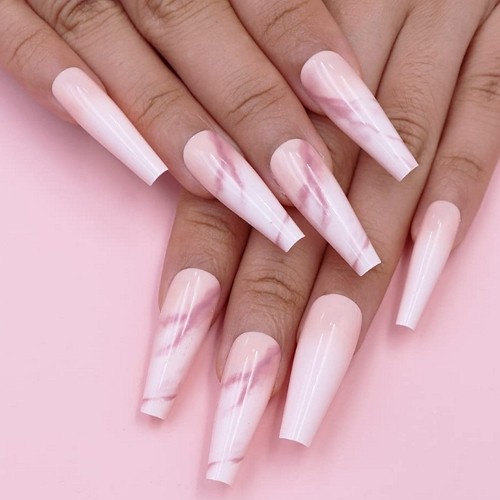
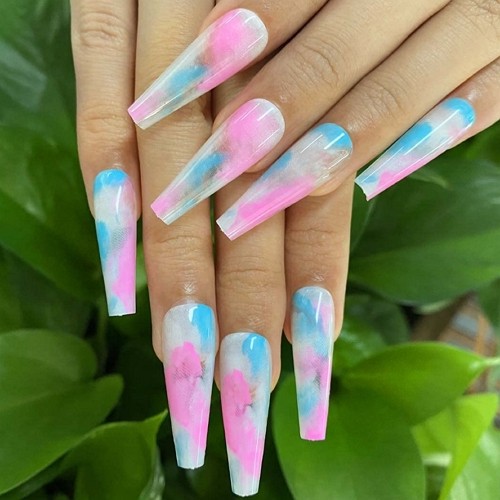
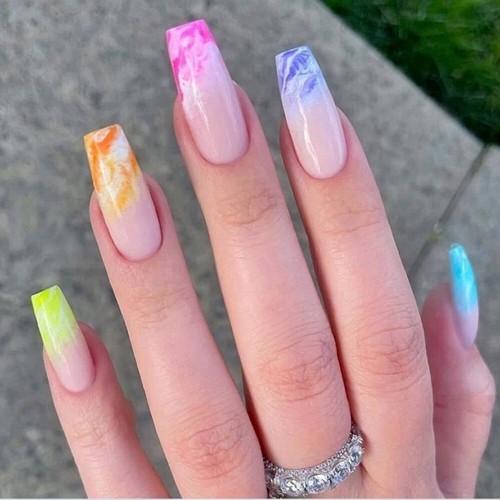
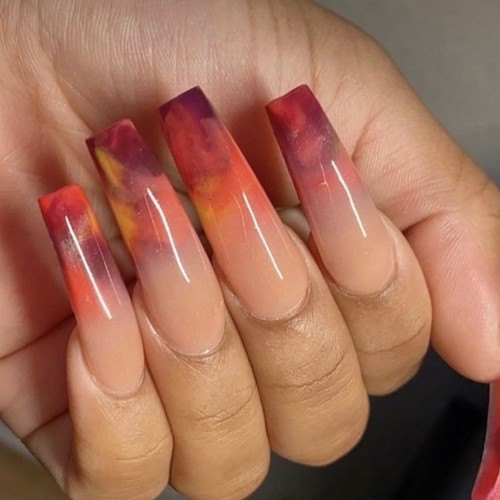
Looking for a fashionable and elegant nail design to try out? Why not give ombre marble coffin nails a go! This design has become extremely popular in recent times and is available in many different colors. In this blog post, we will show you how to create this look using nail polish and a few simple steps. So whether you’re looking for something different or just want to update your current look, keep reading for some inspiration!
Creating marble nail design: materials and instructions
Here’s what you need:
- Base coat and top coat;
- Nail polish in two colors of your choice (we recommend a light color and a dark color);
- A piece of cardboard or paper;
- A toothpick or dotting tool.
Instructions:
First, apply a base coat to your nails and allow it to dry. Next, apply the light color nail polish to your nails and allow it to dry completely. Once the light color is dry, create small dots of the dark color on the piece of cardboard or paper. Then, using the toothpick or dotting tool, slightly drag each dot of dark polish until it becomes a thin line.

Next, apply the thin lines of polish to your nails in a random pattern. Once you are happy with the design, seal it with a top coat. And that’s it! You’ve now created a beautiful ombre marble nail design. We hope you enjoyed this tutorial and found it helpful.
Which colors are the best for ombre marble coffin nails?
While you can technically use any colors you want for this design, we recommend using a light color and a dark color. This will create a more dramatic effect and help the design stand out more. Some of our favorite color combinations include white and black, pale pink and dark purple, or mint green and navy blue. But feel free to experiment and see what works best for you!
Additional elements: glitter, foil, rhinestones
If you want to add a little extra something to your ombre marble coffin nails, consider adding some glitter, foil, or rhinestones. This will help take the design to the next level and make it even more unique. Just be sure not to go overboard so that the design doesn’t become too cluttered. We recommend keeping it simple by adding just a few accent nails with these additional elements.
Tips and tricks
- To make the design process easier, we recommend using a toothpick or dotting tool instead of a brush. This will help you create thinner lines of polish and achieve a more precise look.
- If you’re having trouble getting the polish to stick to your nails, try using nail tape or stickers. This will help create a barrier between your skin and the polish, making it easier to apply.
- Not sure how to get started? Try looking for inspiration online or in magazines. Once you find a design you like, try to recreate it on your own nails. With a little practice, you’ll be able to create any design you want!
Meet our Expert
 Elaine Andrews is a professional nail technician with 12+ years of experience. She works both with gel and acrylic nails and creates artistic nail designs for her customers. She has been training nail technicians for over 6 years and is an author of her own patented nail courses. Feel free to use the comment field below to ask Elaine something you wanted to know about nails and manicures!